Open the operator page
On the computer that will hear the service, open app.qurbanai.com/webclient in Chrome. This one page is the whole control panel — no software to install.
Keep this tab in front for the whole service. Captioning pauses if the browser tab is hidden or minimised, so leave it visible on screen.
Enter your licence key
Paste the licence key we sent you into the Licence key box. It starts with sub_. You only do this once — the page remembers it next time.
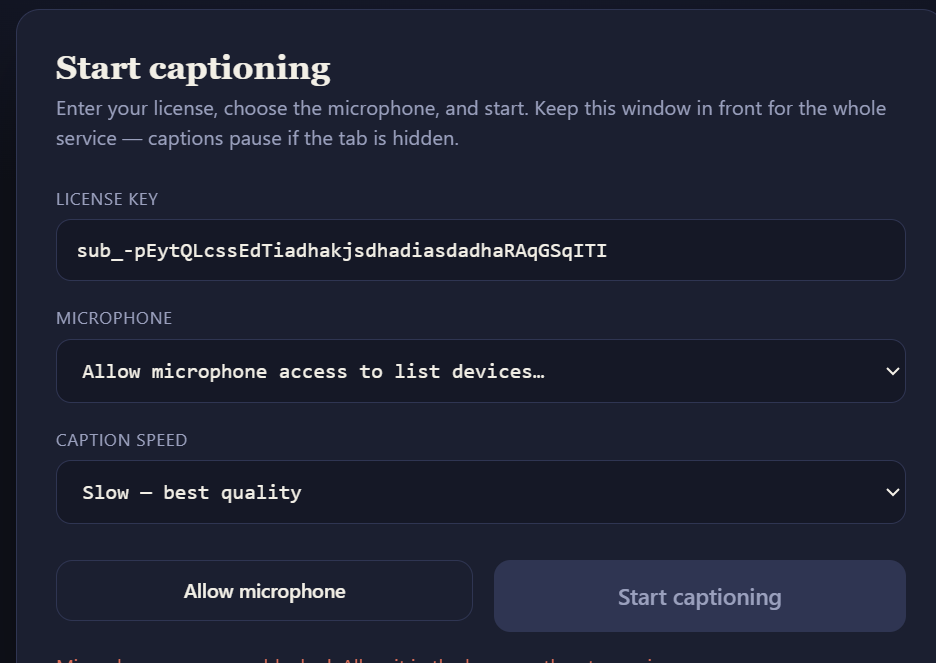
Allow the microphone
Click Allow microphone. Chrome will ask for permission — choose Allow. This lets the page list the microphones and audio sources available on your computer.
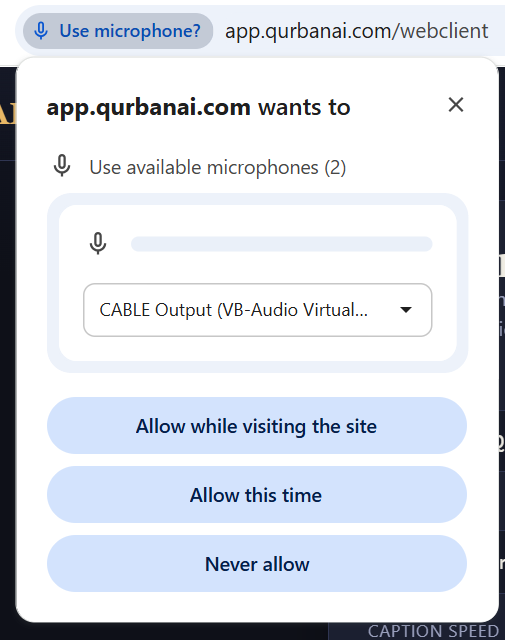
Choose which audio to caption
Open the Microphone dropdown and pick the source that carries the speaker’s voice — usually your USB microphone, audio interface, or mixer feed.
- If you route sound from another app on the same computer, you may see a virtual cable here instead — that’s covered in the advanced guide.
Set the caption speed
Leave it on Standard for most services. Choose Fast for a quick speaker with long sentences, or Slow for a steady speaker where you want the fullest, most accurate phrasing.
You can change the speed live while captioning — there’s no need to stop or re-link anything. See the caption speed guide for details.
Press Start captioning
Click the green Start captioning button. The panel switches to the live captioning window, a status light turns green, and captions begin to appear as the speaker talks.
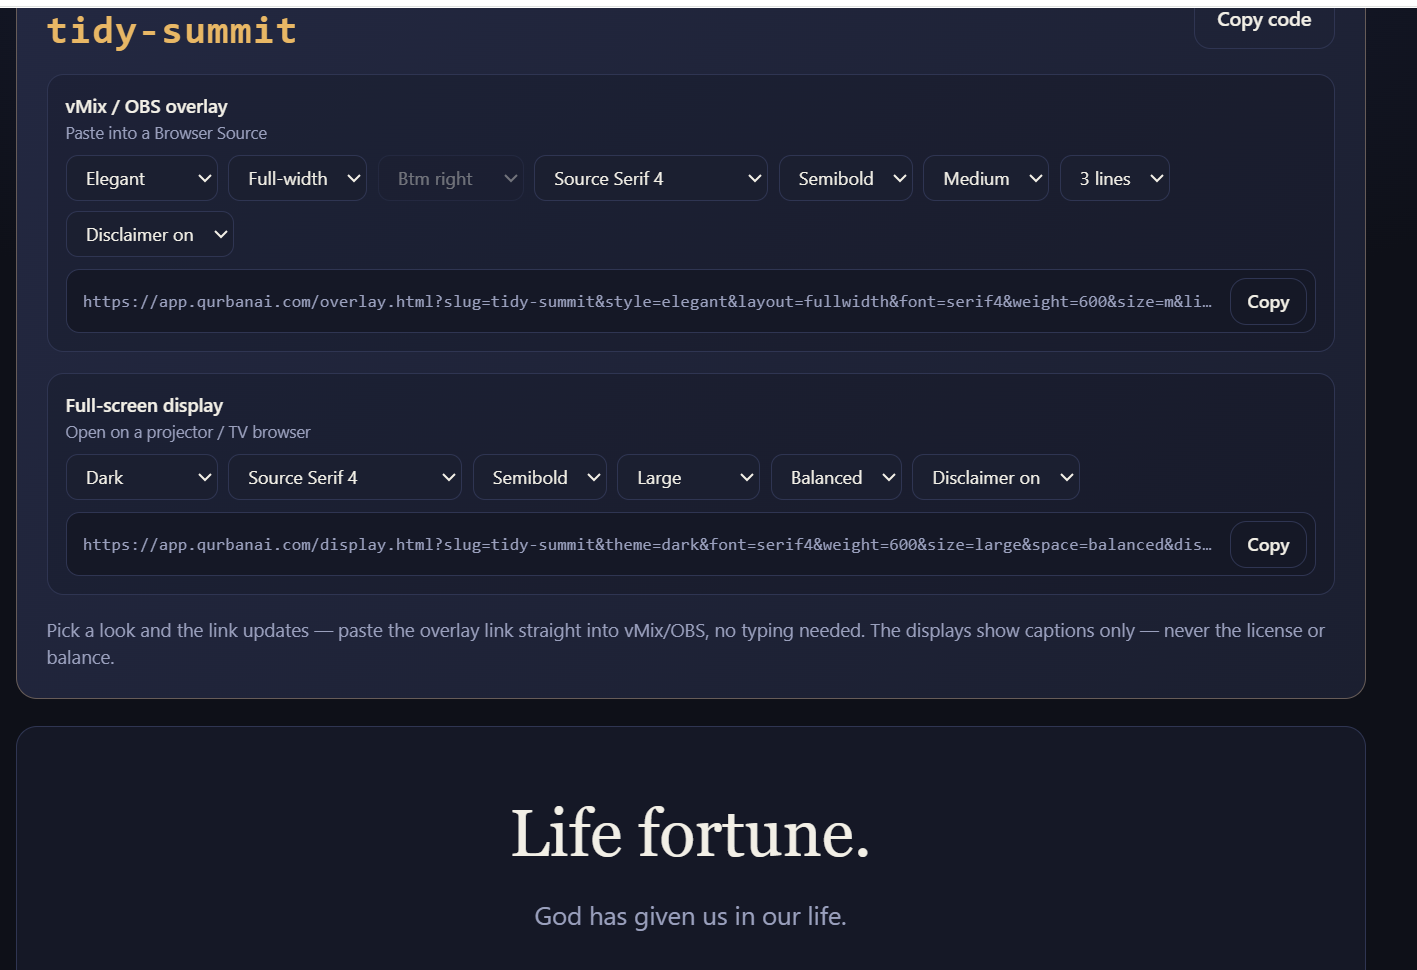
See a word come out wrong during the service? You can fix it in a tap and it corrects on every screen — or hand a code to a fluent helper who fixes it from their phone. See Spot & correct.
You now have a running session. The next step is getting those captions onto a screen — pick the output that matches your setup.